Raspberry Pi Configuration
Creating a RPi Disk Image
Note: If your RPi is already up and running, you can skip to the next step of installing dependencies.
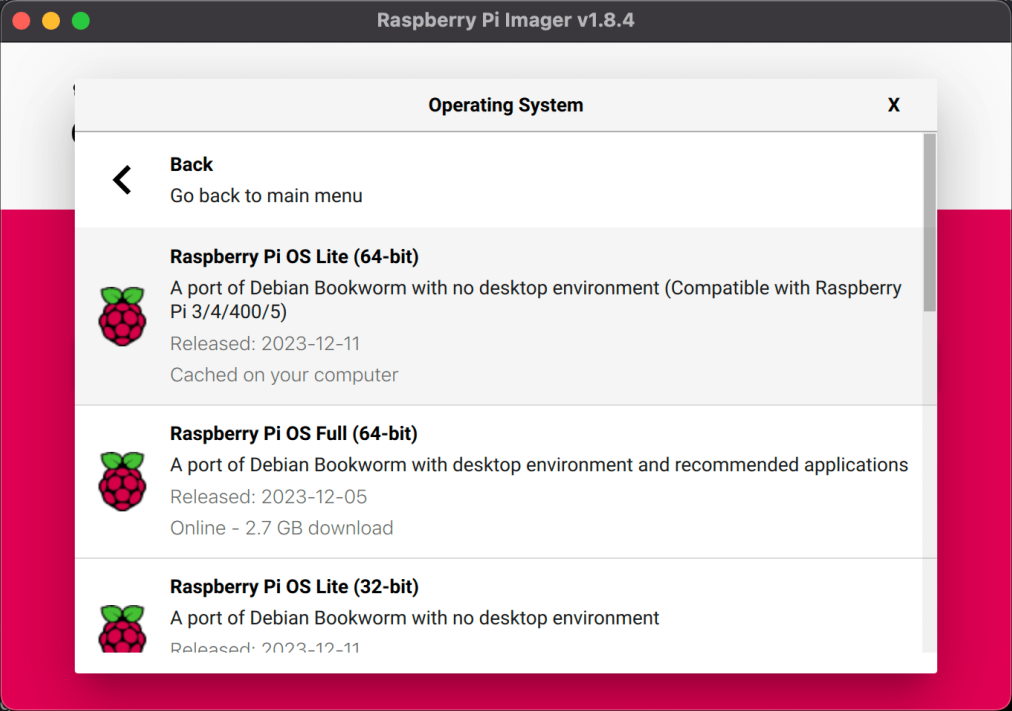
Download and install the Raspberry Pi Imager to write an operating system to your microSD card. The easiest path forward is to use the Raspberry Pi OS Lite distro custom-built for the Pi. This Raspberry Pi-specific flavor of Linux comes with several pre-installed components out of the box.
The Raspberry Pi Imager software will also allow you to preconfigure Wi-Fi and a root user account. If you plan to push source code to the RPi over your local network, provide the RPi with a static IP in your router's network settings.
Install Dependencies
Update the OS
Even if you just installed from a freshly made disk image, it's a good idea to check for OS updates.
sudo apt-get update && sudo apt-get upgrade
Install Arduino Command Line Tools
curl -fsSL https://raw.githubusercontent.com/arduino/arduino-cli/master/install.sh | sh
Note: If the arduino-cli command is not found after installation, you'll need to update your PATH variable to include the directory containing the arduino-cli executable:
/home/(YOUR_USER)/bin
Update the Arduino CLI Board Index
arduino-cli core update-index
Download Core Support Files for Your Arduino
Note: This guide assumes an Arduino Uno, with the correct core being arduino:avr. To determine the core for another board, run arduino-cli board listall to see a list of all supported boards.
arduino-cli core install arduino:avr
Ensure AVRDUDE is Installed
Installing core support files should also install AVRDUDE, another command-line tool we'll need. Ensure AVRDUDE is installed and recognized.
sudo apt-get install avrdude
AVRDUDE Documentation
Note:
As with the arduino-cli command, if avrdude is not found, you'll need to update your PATH variable to include the directory for it. It will likely look similar (but likely with different version numbers) to:
/home/(YOUR_USER)/.arduino15/packages/arduino/tools/avrdude/6.3.0-arduino17/bin